
Team Management
Machine supports team-based collaboration through teams. Each team has members with assigned roles that control what they can do on the platform. This guide covers how to view, invite, and manage team members from the Machine dashboard.
Roles
Machine teams have two roles:
| Role | Description |
|---|---|
| Admin | Full access to team settings, billing, GitHub integrations, and member management. Can invite new members and change existing members’ roles. |
| Member | Can use the platform to run GPU workflows and view jobs, but cannot modify team settings or manage other members. |
When you create a team, you are automatically assigned the Admin role.
Viewing Team Members
To see who is on your team:
- Open the Machine dashboard
- Click Settings in the sidebar
- Navigate to Team > Members
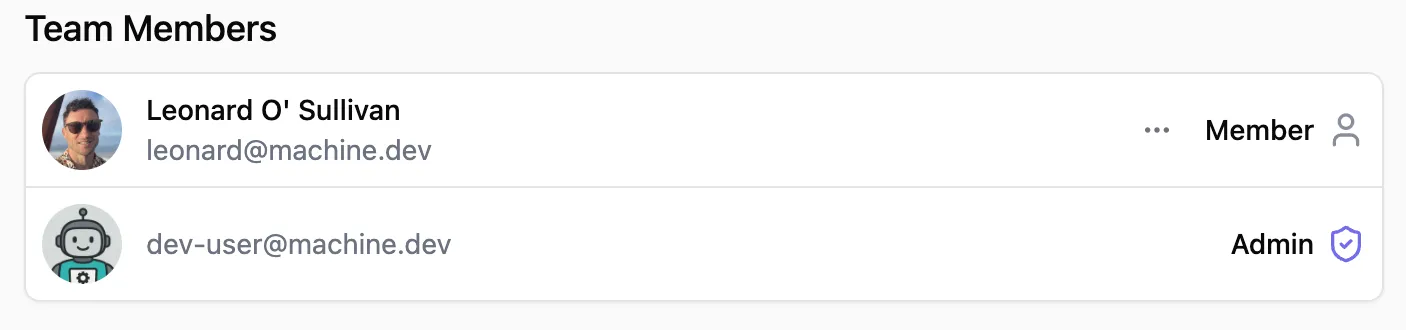
The members table shows each user’s name, email, and current role. Role badges indicate each member’s access level — a shield icon for Admin and a user icon for Member. Pending invitations appear with an amber Invited badge.
Inviting Members
Admins can invite new members to the team:
- Go to Settings > Team > Members
- Click the Invite button
- Enter the email address of the person you want to invite
- Select a role for the new member
- Click Send Invite
The invited user will receive an email with instructions to join your team. Until they accept, they appear in the members table with an Invited badge.
Changing a Member’s Role
Admins can promote members to admin or demote admins back to member:
- Go to Settings > Team > Members
- Find the member whose role you want to change
- Click the ”…” action button on their row
- Select the new role from the dropdown — either Admin or Member
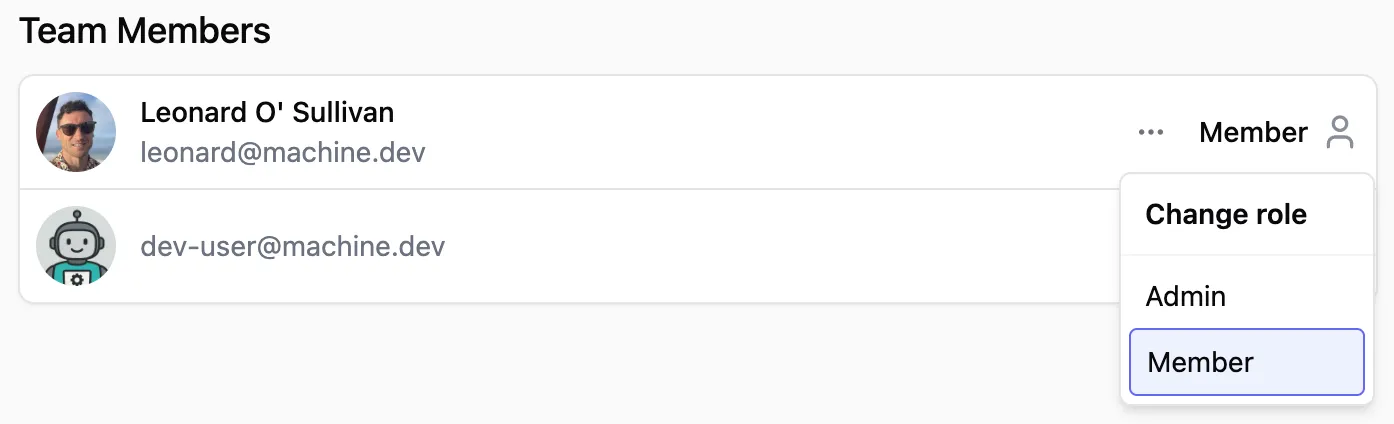
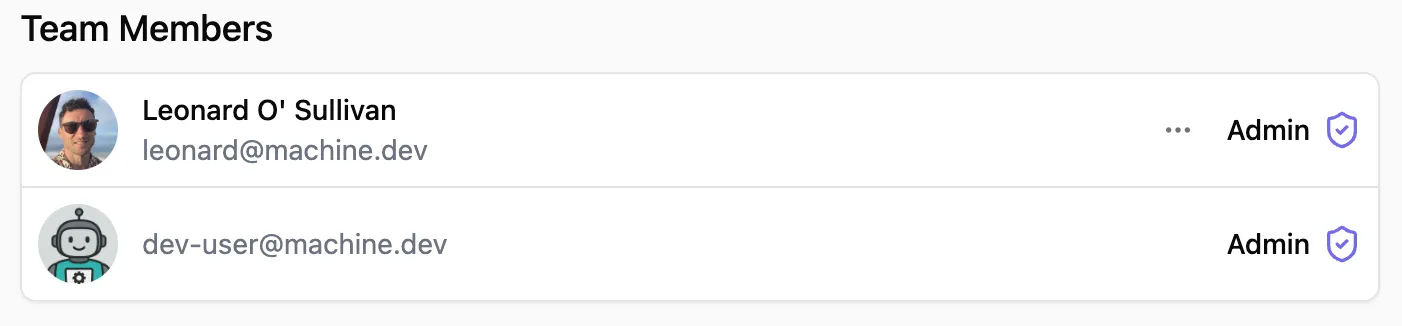
The currently active role is highlighted with an indigo border. While the role change is being saved, a loading spinner replaces the action button. Once complete, the member’s role badge updates immediately.
Constraints
There are two restrictions on role changes:
- You cannot change your own role. This prevents a team from accidentally losing all admins. The action button does not appear on your own row.
- You cannot change the role of pending invitations. The action button only appears for members who have accepted their invite.
Role Permissions Summary
| Permission | Admin | Member |
|---|---|---|
| Run GPU workflows | Yes | Yes |
| View jobs and usage | Yes | Yes |
| Manage team settings | Yes | No |
| Invite new members | Yes | No |
| Change member roles | Yes | No |
| Configure billing | Yes | No |
| Manage GitHub integrations | Yes | No |
Next Steps
- Set up your first workflow with the Workflow Setup guide
- Learn about Cost Optimization to manage your team’s GPU spending
- Review Pricing to understand how credits work across your team